


Photo by Domenico Loia on Unsplash
E-Commerce Integration with SnipCart
A static site e-commerce solution


Table of contents


No headings in the article.
Since my last post, I've had an exciting opportunity to collaborate with other Nigerian developers on a project through their Tech Tok Slack group. We worked together to build an e-commerce solution using barebones HTML, CSS, and JavaScript. It was such a welcome surprise to be assigned the task of integrating an e-commerce solution of my choice into the project, and I was eager to get started.

After some research, I decided to go with Snipcart for our e-commerce integration. Snipcart is a fantastic option for static sites and other non-React applications because it doesn't require webhooks. Installing it was a breeze and no different from installing something like Bootstrap or jQuery.
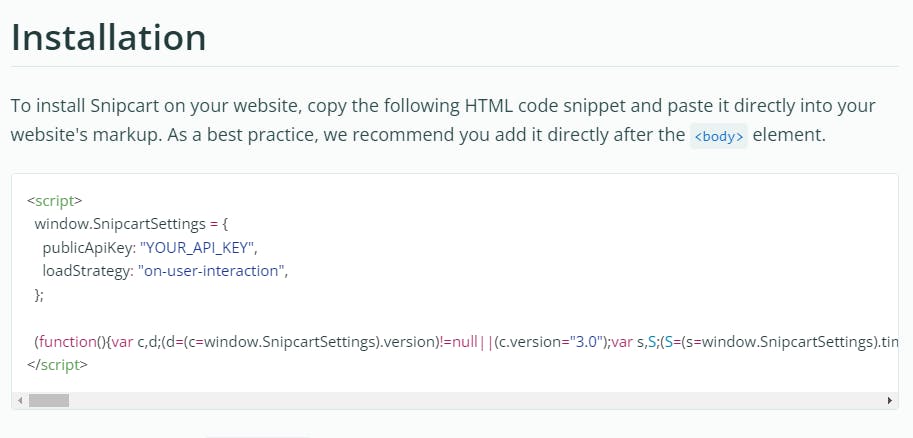
To get started, I copied the HTML code snippet provided by Snipcart and pasted it into our website's markup. As recommended by Snipcart, I added it directly after the <body> element. Then, I replaced the "YOUR_API_KEY" text inside the snippet with our public API key, which can be found in our Snipcart dashboard. With those simple steps, our e-commerce integration was up and running.
One of the great things about Snipcart is that it offers customizable settings. If you need a specific version of Snipcart, you can specify it using the version setting. This is especially useful if you have a customized cart integration and want to ensure there won't be any breaking changes when a new cart version is released. Snipcart also allows you to defer the initial loading of the cart to the first user interaction by setting the loadStrategy option to "on-user-interaction."
Here is a step-by-step tutorial on how to add Snipcart to a website:
Step 1: Create a Snipcart account
The first step in adding Snipcart to your website is to create a Snipcart account. Go to the Snipcart website (snipcart.com) and click on the "Sign up for free" button in the top right corner.
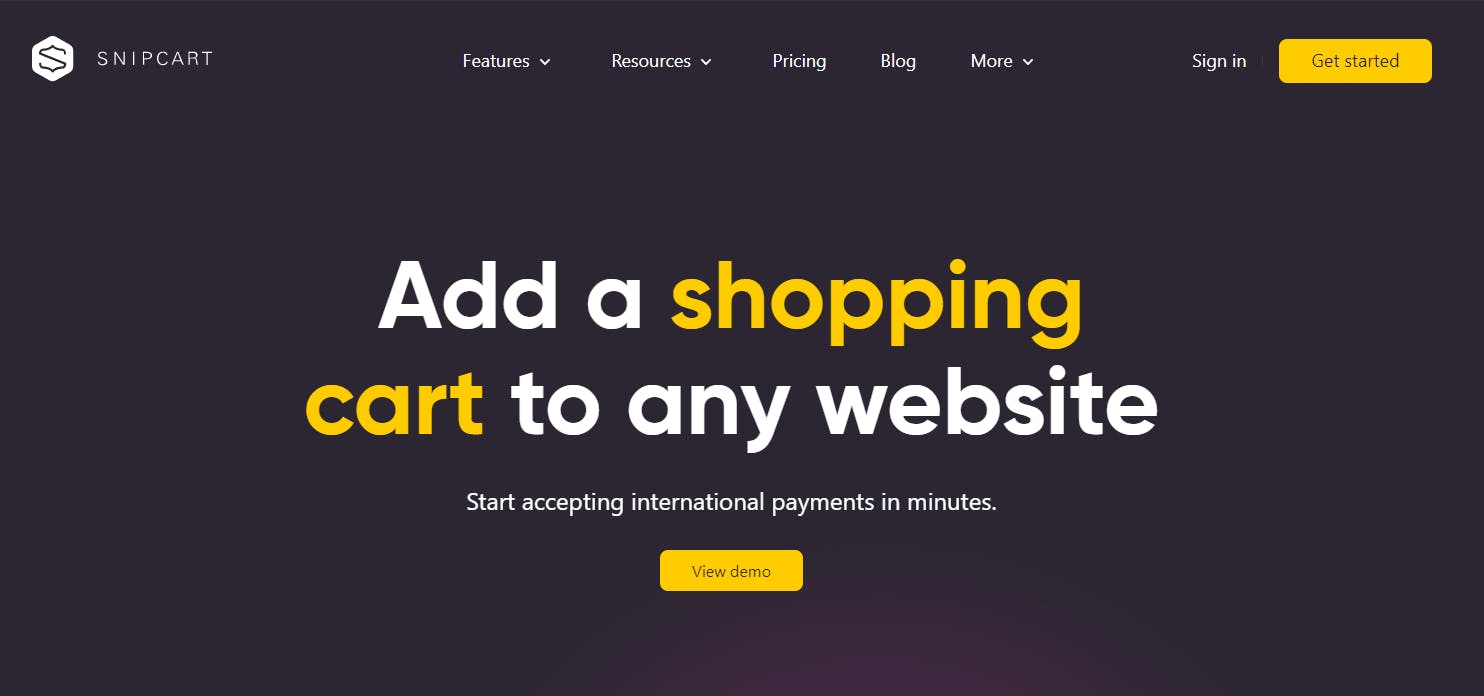
Fill out the form with your information, and then click on the "Create account" button.
Step 2: Create a new website
If you haven't already created a website, you will need to create one before you can add Snipcart to it. There are many ways to create a website, including using website builders like Wix, WordPress, or Squarespace, or coding your website from scratch using HTML, CSS, and JavaScript.
Step 3: Install the Snipcart code
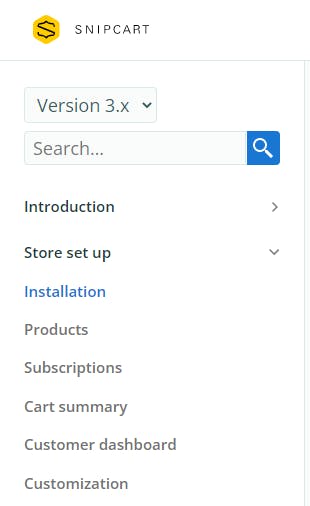
Once you have a website, you can add Snipcart to it by installing the Snipcart code. To do this, log in to your Snipcart account and navigate to the "Dashboard" tab.
Click on the "Getting Started" button, and then select the "HTML/JavaScript" option.
Copy the code snippet that appears, and then paste it into the <head> section of your website's HTML code.
Step 4: Configure Snipcart
Now that you have installed the Snipcart code, you need to configure it for your website. To do this, go to the "Dashboard" tab in your Snipcart account and click on the "Settings" button.
Here, you can configure various settings for your Snipcart integration, such as your payment gateway, shipping options, and taxes.
4.1 Add Snipcart to your website To start using Snipcart, you'll first need to sign up for an account and create a new project. Once you've done that, you can follow these steps to add Snipcart to your website:
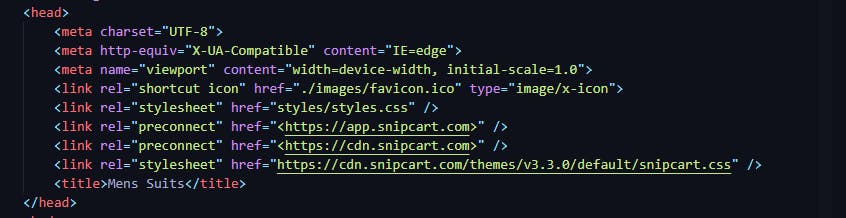
4.2 Add the Snipcart script to your HTML file
<!-- Snipcart JS -->

<script src="https://cdn.snipcart.com/themes/v3.2.0/default/snipcart.js" id="snipcart" data-api-key="YOUR_API_KEY"></script>
<!-- Snipcart CSS -->

<link rel="stylesheet" href="https://cdn.snipcart.com/themes/v3.2.0/default/snipcart.css" />
Note: Replace YOUR_API_KEY with your own API key.
Step 5: Add products
Once you have configured Snipcart, you can start adding products to your website. To do this, go to the "Dashboard" tab in your Snipcart account and click on the "Products" button.
Here, you can add new products, set their prices, and configure their options.
Step 6: Add the Snipcart button
Finally, you need to add the Snipcart button to your website to allow users to purchase your products. To do this, go to the Snipcart website and select the "Cart Button" option.
Here, you can customize the appearance of the button and generate the code you need to add it to your website.
<button
class="snipcart-add-item"
data-item-id="1"
data-item-name="Product Name"
data-item-description="Product Description"
data-item-price="10.00"
data-item-url="/product-url"
data-item-image="/product-image-url"> Add to cart
</button>
Note: Replace the data-item-* values with your product details.
Copy the code snippet, and then paste it into the HTML code for the page where you want the button to appear.
And that's it! You have successfully added Snipcart to your website, and users can now purchase your products using the Snipcart checkout.
Collaborating with other developers and building projects together is always a rewarding experience. It allows you to learn new skills, get feedback on your work, and see how other developers approach problems. If you haven't already, I encourage you to seek out online communities like Tech Tok and participate in group projects. Who knows, you may just discover your next favorite tool or make some new friends in the process!
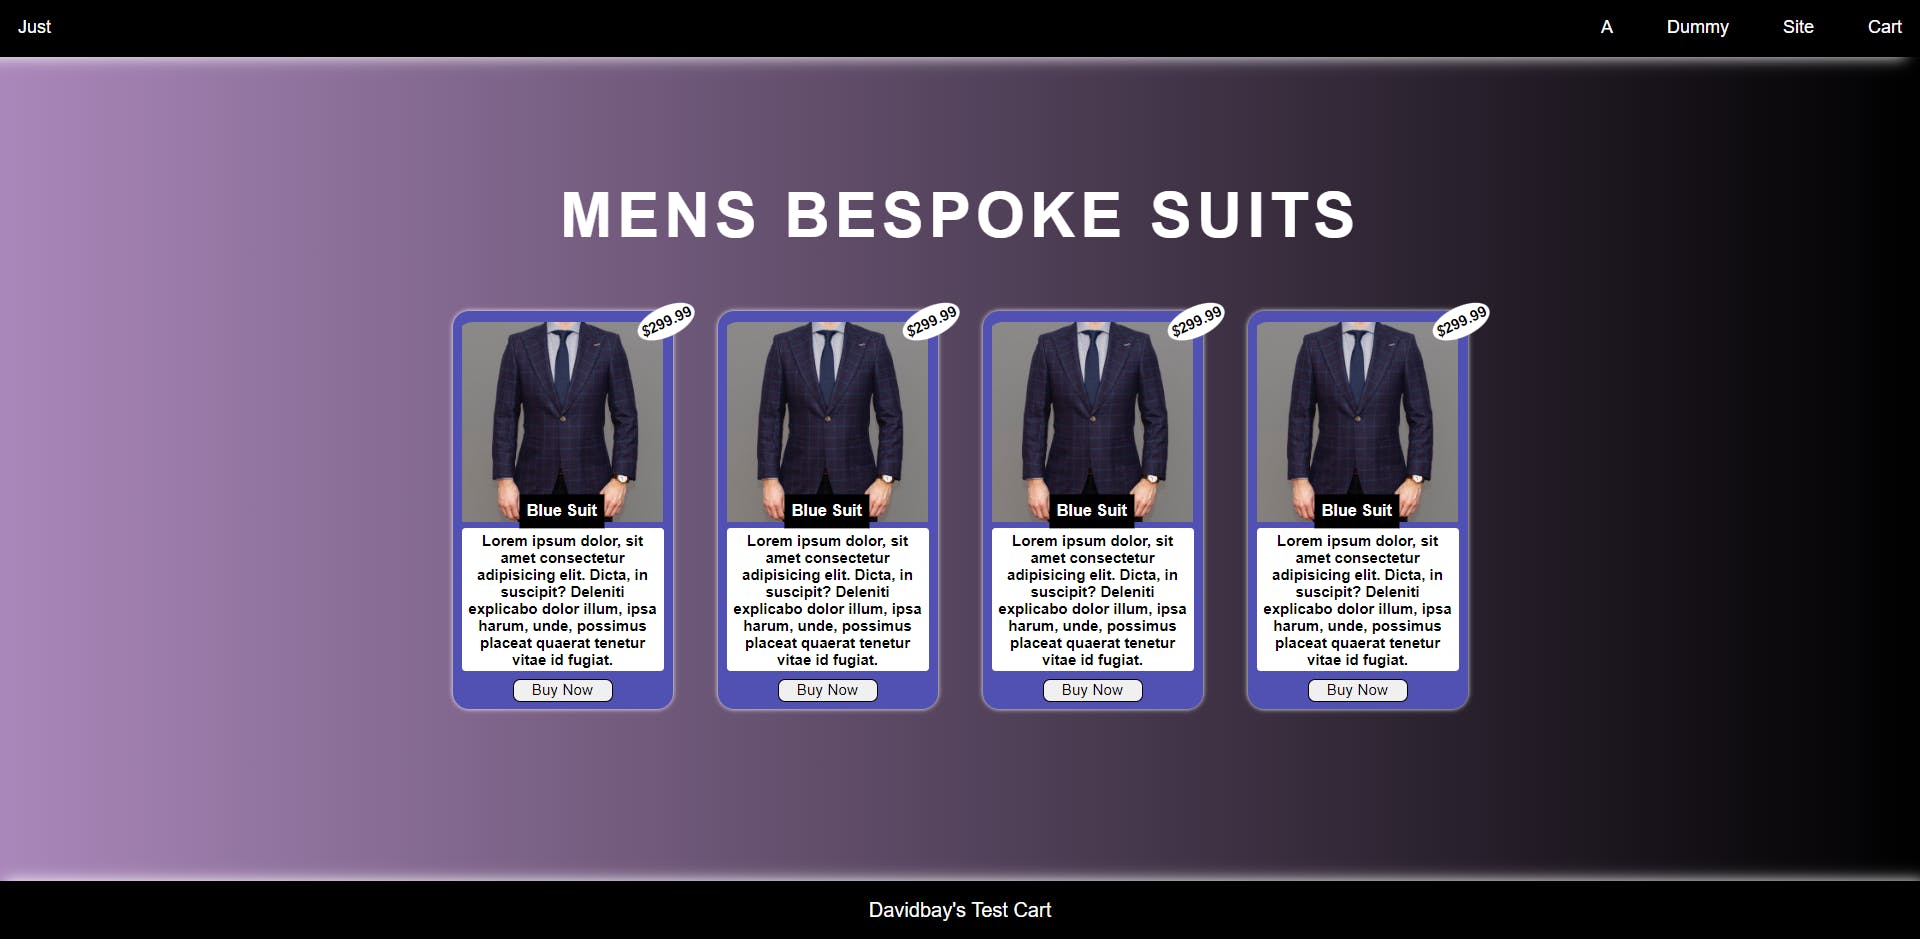
Also, here's a quick test site I made to show the cart functionality.
Overall, I had a fantastic experience using Snipcart for our e-commerce integration. It was straightforward to install, customizable, and perfect for our static site. If you're looking for an e-commerce solution for your non-React application, I highly recommend giving Snipcart a try!"